1. Introduction
In previous tutorial, we started a Keycloak server in our localhost and created Admin user to login to the administrative console of Keycloak. In this tutorial, we’ll create a new realm and a new user in Keycloak.
2. What is a realm in Keycloak?
A realm in Keycloak is equivalent to a tenant. Each realm allows an administrator to create isolated groups of applications and users. By default, Keycloak comes with a single realm named “master,” which is intended solely for managing Keycloak itself and should not be used for managing applications. In simple terms, it is a space that allows us to manage a set of users, their roles and credentials. When a user logs in, they are accessing this specific realm. Users in one realm are isolated from users from another realm on the server.
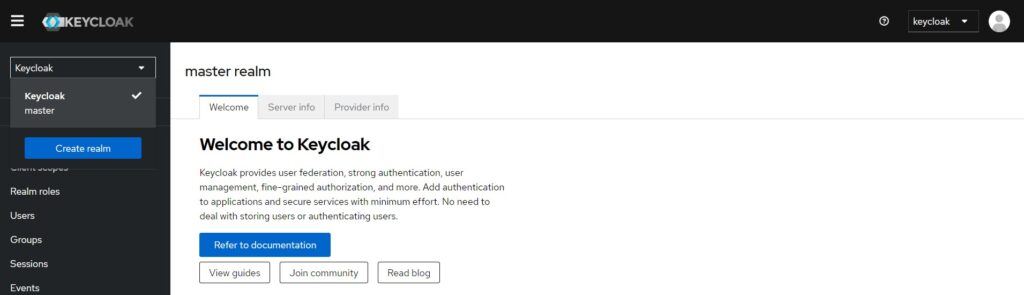
When you start Keycloak for the first time, Keycloak create a default realm “master” for us. And the admin user we created in our previous tutorial was created in this realm “master”. The “master” realm is at the top of the hierarchy. The “master” realm is reserved for admin accounts and should not be used for managing applications. All admin accounts in this realm have permissions to view and manage any other created realm on the server.
It is advised not to use the “master” realm for managing regular users within your organization. The “master” realm is intended for administering Keycloak itself, while separate realms should be created to handle users and applications specific to your organization.
Since the Master Realm is designated for admin users only, we’ll need to create a new realm. In this new realm, we can register all the regular users for our application.
3. Create a new realm
To create a new realm, click on the ‘Create Realm’ as shown in the image previously shown in this tutorial.
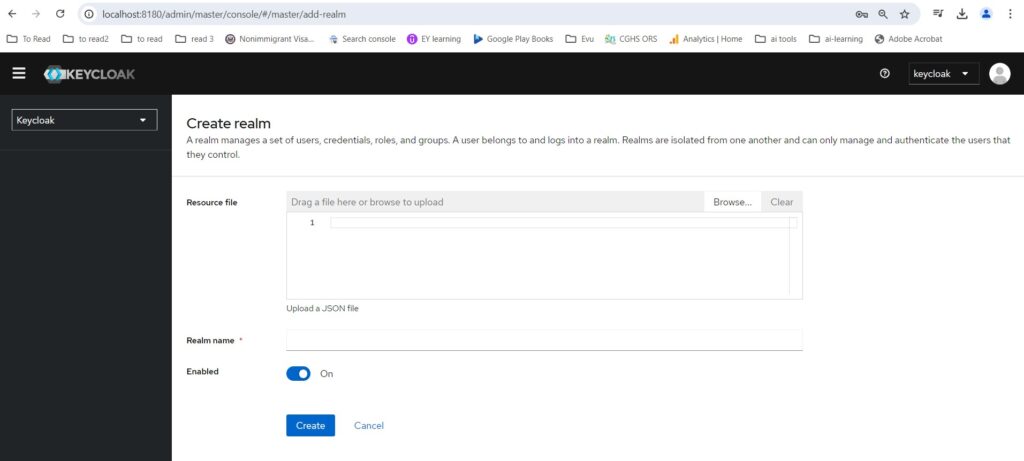
You just need to provide a name to create a new realm. We’ll provide the name appdeveloper and click on the ‘Create’ button. Once the realm is created, you can notice that you are switched to the new realm, appdeveloper. You can switch to the “master” realm or any other realm using the dropdown in the top left.
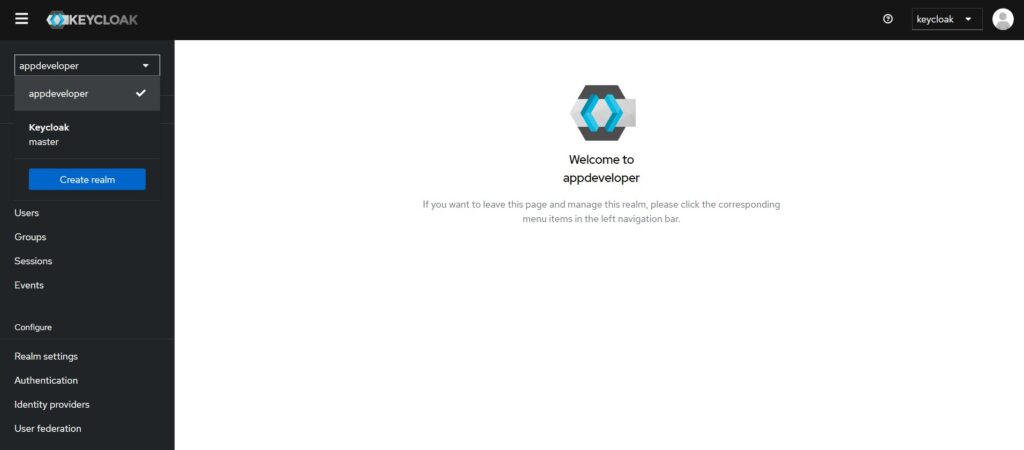
Since we have created a new realm, we can create users for our application as needed.
4. Create a new user
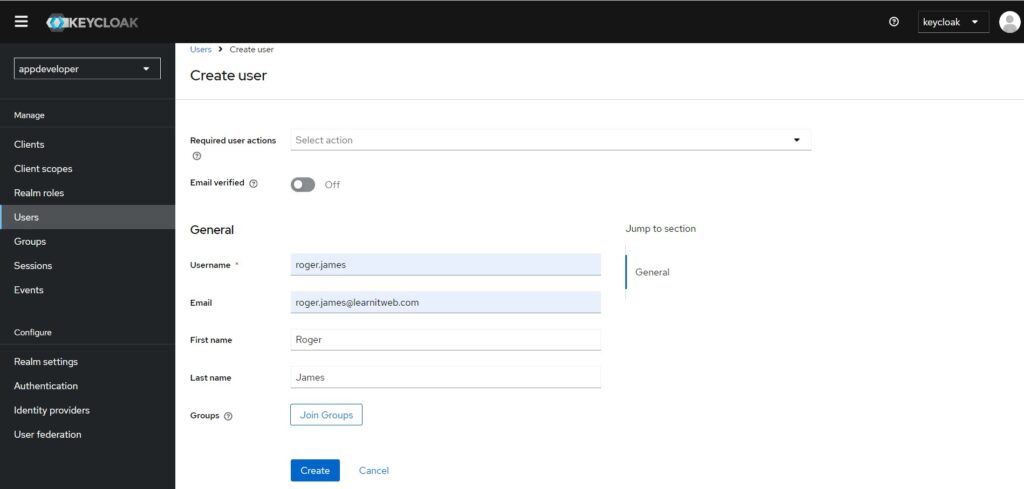
With the new realm in place, we can add as many users to our application as necessary. To create a new user, go to the ‘Users’ section. Here, you can either search for a user or can create a new one.
Provide a user name, email, first name and last name. We are providing only the basic details to create the user. You can specify one of the required actions which can be to make this user verify email address.
Now, we’ll switch to the ‘Credentials’ tab and will set the password for the user.
If the password is set to temporary, then the user will need to change this password once they log in the next time.
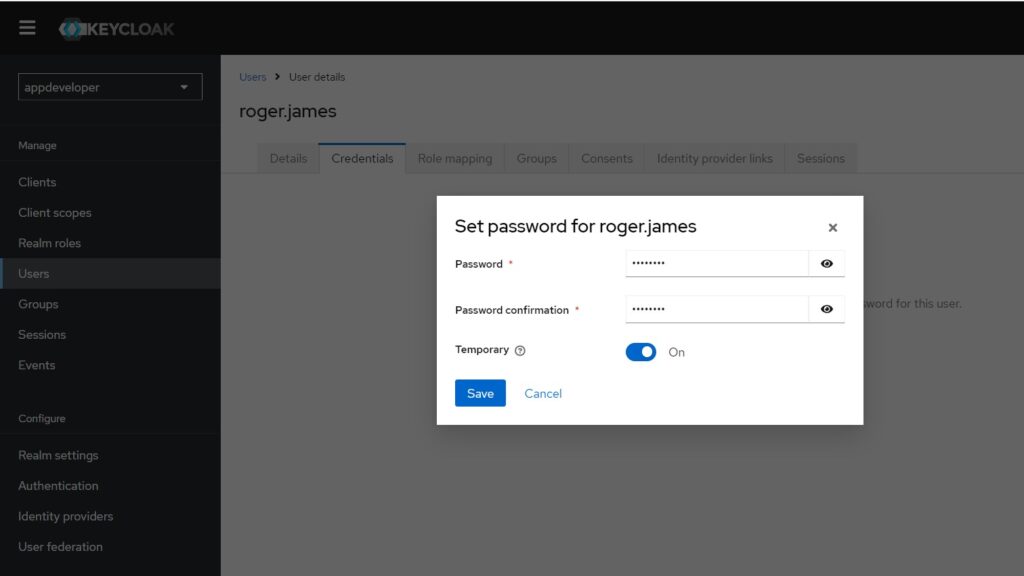
Provide the password and click on the ‘Save’ button to create the user.
There are different ways to create a user. A user can be created by an admin user. The Keycloak server admin user can also use terminal window to create a new user account with command line interface. Keycloak also offers a REST API that allows you to register user accounts by sending HTTP POST requests from client applications, such as a mobile app or a web page.
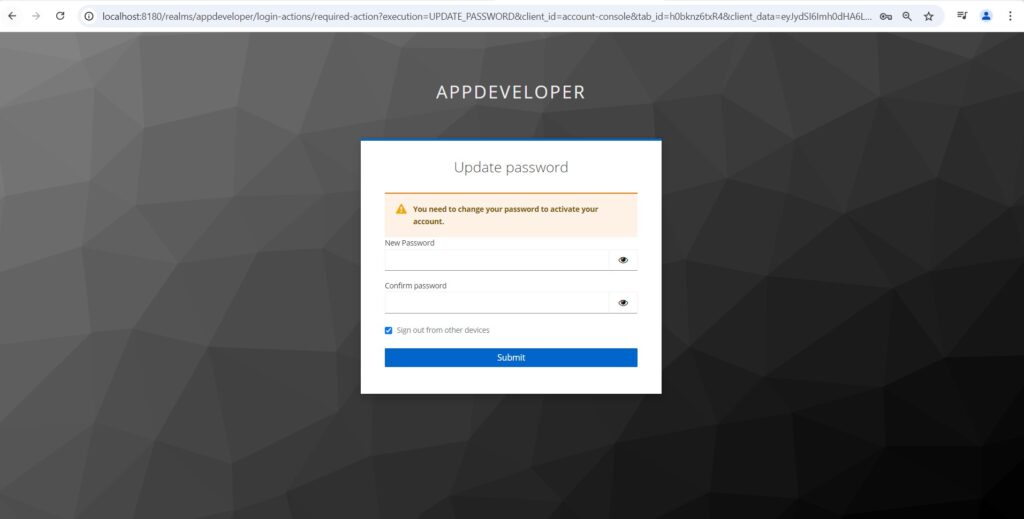
Once the user is created, he can log in into his account in Keycloak server. The Url in this case is https://localhost:8180/realms/appdeveloper/account/.
User can provide the login details to login to the account.
User then will have to change his password as this is the temporary one.
5. Conclusion
In conclusion, creating a new realm and adding users in Keycloak is a straightforward process that enhances the security and flexibility of your applications. By setting up realms, you can manage users and permissions in isolated environments, while Keycloak’s user-friendly interface and REST API make it easy to register and manage users across various client applications. This foundational knowledge equips you to better control authentication and authorization within your systems, ensuring a more secure and organized approach to user management.