1. Introduction
In this tutorial, we’ll integrate Spring Security with Spring Boot. We’ll see how to secure a REST API with Spring Security in a Spring Boot application. In this tutorial, we’ll create a simple REST API with Spring Boot and will secure it. You can say that this tutorial is the very first step of getting started with Spring Security practically. We’ll not use any database for saving username and password. We’ll also see how to get a login page when someone tries to access a resource. We’ll use default username, password and login page provided by the Spring Security.
2. Step 1: Get Spring Security in Spring Boot
To get Spring Security in Spring Boot application in a Maven project, include spring-boot-starter-security dependency in your pom.xml.
<dependency>
	<groupId>org.springframework.boot</groupId>
	<artifactId>spring-boot-starter-security</artifactId>
</dependency>
The other dependency which we’ll use for our example is spring-boot-starter-web.
<dependency>
	<groupId>org.springframework.boot</groupId>
	<artifactId>spring-boot-starter-web</artifactId>
</dependency>
2.1 Step 2: Create a REST API
We’ll create a simple REST API which returns a simple string message.
package com.learnitweb.controller;

import org.springframework.web.bind.annotation.GetMapping;
import org.springframework.web.bind.annotation.RestController;

@RestController
public class HelloWorldController {
	@GetMapping("/hello")
	public String index() {
		return "Hello world from Spring Boot!";
	}
}
2.3 Step 3: Run the application
There is nothing more you have to do to secure your REST endpoint other than including Spring starter dependency. Once you access the endpoint https://localhost:8080/hello in browser, you’ll see something like the following:
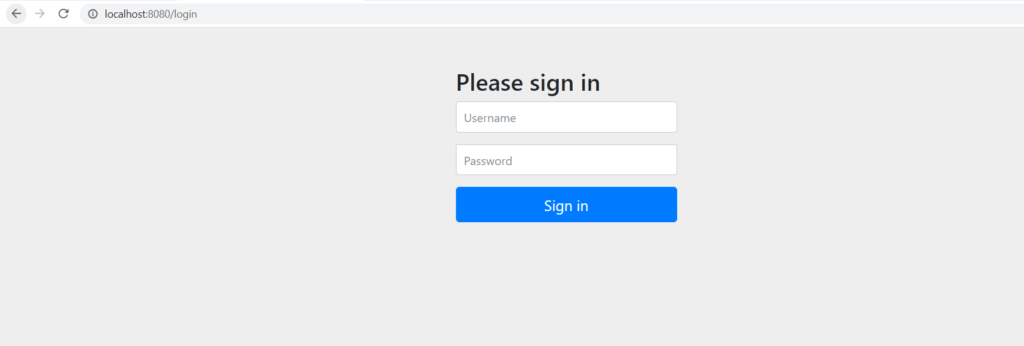
Note: The default username for Spring Security login page is user and the password is the generated security password printed in console.
Using generated security password: 59035b7c-e488-4ff4-9a17-75a56a3a1d2fProvide the username and password and you’ll see the following message in the browser:
Hello world from Spring Boot!Once you have logged in and you refresh the page, you’ll not be asked again to provide your credentials. You’ll be able to access the REST endpoint without going through the login page.
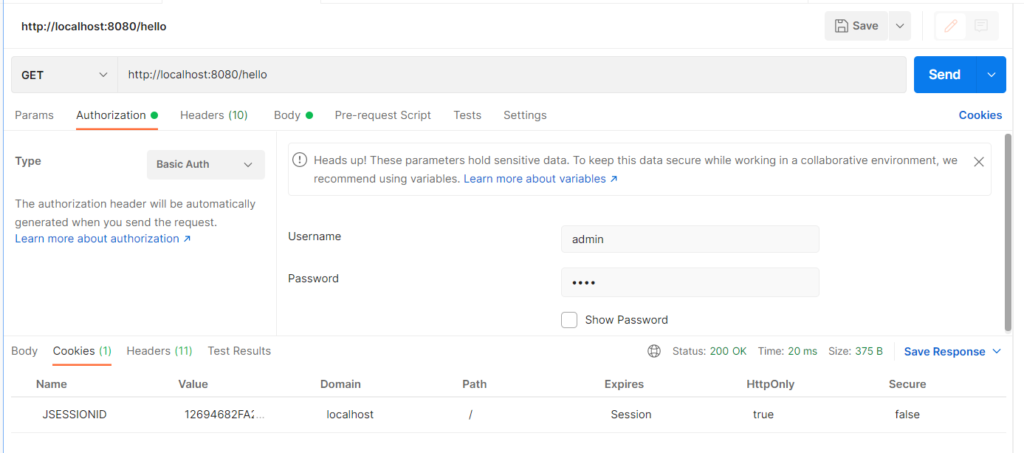
4. How multiple requests work without credentials?
As mentioned earlier, once you have provided credentials, you need not to provide credentials again in the same session. The reason for this a cookie JSESSIONID. The JSESSIONID value is same for the requests. This cookie is used to determine if the same person is trying to access the endpoint. If you try to change the value and try again access the REST endpoint, you’ll get error.
5. Change default user name and password
You can use spring.security.user.name and spring.security.user.password properties to define the login user name and password.
spring.security.user.name=admin
spring.security.user.password=root
6. Conclusion
In this quick tutorial, we integrated Spring Security with Spring Boot and secured REST API with default Spring Boot.